You can learn how to create a children’s book, even without any experience in writing or drawing! All it takes is a little imagination to get started.
In this tutorial, I will show you the exact template I use, and once you know the structure, I bet you will be able to create your 32-page book within three hours or less! 32 pages is the standard length for a children’s story in picture book format. When I got started, it took me many days to finish my first story. I wish I had a quick guideline like this one when starting out.
You will learn how to create the book digitally, which saves you publishing time when compared to drawing by hand. For digital format, we will use Google Slides, a free slide show software, as the foundation for our book. All you need to do is log in with a Google account and you will have access.
First, you will open a new slide file for your book. Here’s mine, which I’ve titled Chunky (the name of this example story):

This is our cover page. You can change the background color, the text style and the font size to make it your own. To do that across all pages, head to the Slide Master under the Slide menu:
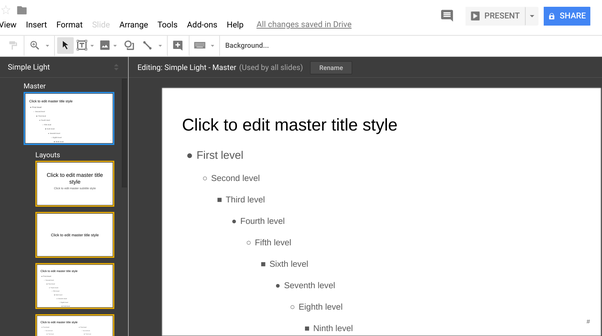
By editing the first slide shown above, you will edit everything at once.
For the slide master, I made my background color red, with bold Helvetica title font:

If you plan on using this setup for multiple stories, you can duplicate the file and use this as your main template. That saves you having to edit the Slide Master for every story. You can also customize the page dimensions under File > Page Setup. For this example, we’ll stick to the default 16 x 9 format. I’ve done square formats and reverse 9 x 16 formats. Have fun with it!
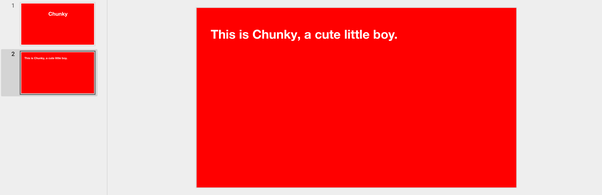
Before we get into drawing the characters, we will write out the story outline. Start by writing a sentence or two per slide, as the drawings will take up the rest of each page.
Here is an example of the first written page:
Where does the story go next? Write out the next page.
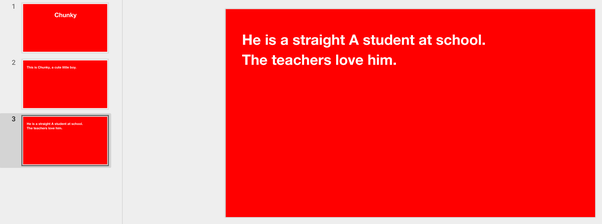
And so on…
Soon you will have 32 pages of written content to get you started! The momentum is the most important part of writing any story, and we just crushed it 🙂 By having the outline ready, drawing becomes much easier now. All you need to do is match up the page’s words with a drawing of your creation.
Let’s start with the cover. You can use the shapes tool to create a simple design for our main character, Chunky.
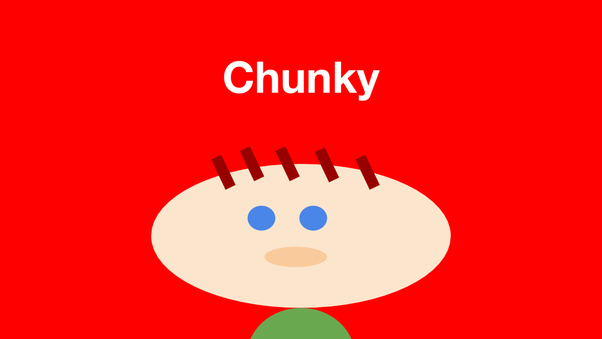
With just circles, rectangles and ovals, we created Chunky! So cute.
Using the Shapes and Scribbles tools, you can continue to finish off the story, page-by-page.
Focus on the evolution of your character and aim for a theme that brings together the entire story. Maybe the theme is about overcoming confidence or battling loneliness or bullying. You are only limited by your wonderful imagination.
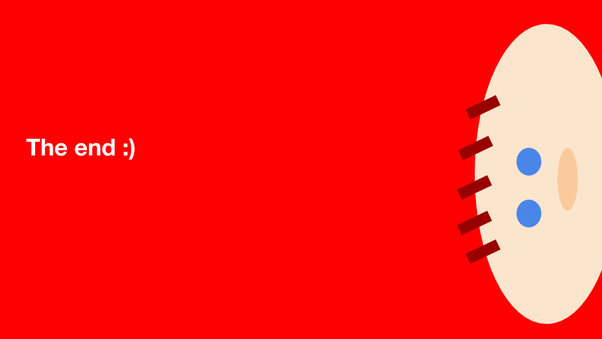
Don’t forget to include the most popular page once you’re finished:
Now you can create stories for others, whether you are planning to do a business presentation or become a creative writer. Or, maybe you always wanted to be a children’s author/illustrator, and now you can pursue your passion with these fun tips.
Happy creating 🙂